 Chicago
 Track Your Order



 0
0
How to lower your GPU's temperature
The GPU, or graphics processing unit, is one of the core components of a PC that does a lot of heavy lifting, even when you are not playing a game. It's constantly used in varying capacities by a wide range of applications, and it's important to keep it cool at all times to ensure smooth performance. It's not particularly difficult to tame the temperature of a graphics card, but there are times when you may need to put in some additional efforts to maintain optimal performance. Nobody likes a GPU that's constantly overheating and delivering throttled performance, so read on to find some effective ways to control and lower GPU temperatures, thus safeguarding your graphics card's performance and longevity.
Improve case airflow
A simple and effective way to lower temperature

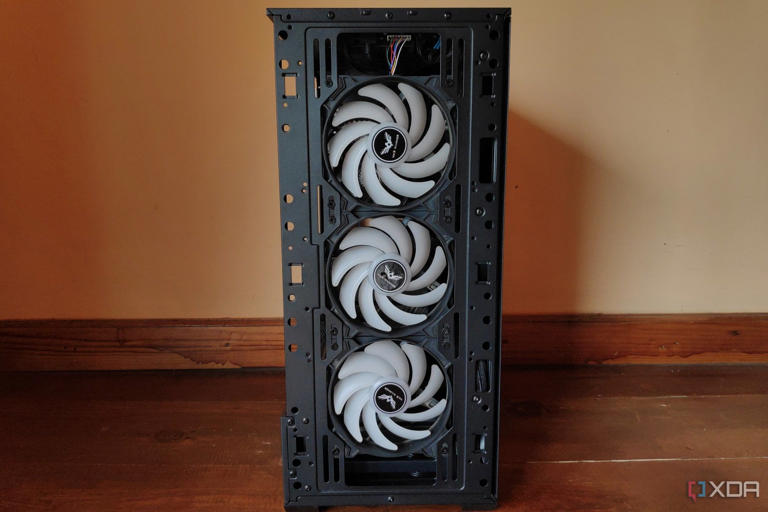
Optimizing the airflow within your computer case is a fundamental step in controlling GPU temperature. Modern GPUs use an array of downdraft fans that force air straight down through the card, dissipating the heat from the heatsink assembly in the process. Adequate case airflow ensures a continuous influx of cool air and efficient removal of hot air, essential for maintaining a balanced temperature.

To enhance case airflow, consider installing additional case fans in strategic locations, configuring fan orientations for optimal air movement, and establishing positive air pressure within the case to prevent dust infiltration and maintain efficient cooling. It is generally agreed upon that positive case pressure provides the ideal balance between thermal performance and dust buildup, although negative pressure can also be quite beneficial for GPU temperatures.
Increase fan speed
It only takes a few minutes to set a custom fan curve
Modern GPUs come equipped with built-in fans that adjust their speeds automatically based on temperature. However, you can take control of the situation by manually increasing fan speed using software tools like MSI Afterburner or the manufacturer's proprietary software. While this can effectively cool the GPU, be prepared for increased noise levels as a trade-off. Constantly running GPU fans at their maximum speed can also accelerate the wear and tear process.
Manage ambient temperature
Try to maintain a low ambient temperature
 An image showing a gaming setup with a TV, monitor, and a gaming PC case on a desk with some RGB lights.© Provided by XDA Developers
The ambient temperature in the room where your computer resides plays a pivotal role in GPU temperature management. A warmer room means the GPU has to work harder to dissipate heat, potentially leading to overheating. To mitigate this, ensure proper room ventilation, consider using air conditioning or fans to maintain a cooler room temperature, and avoid placing the computer in a confined space with limited air circulation.
Prevent dust buildup
Regular maintenance of your PC is crucial

Dust accumulation on the GPU's heatsinks and fans is a common culprit for elevated temperatures. Although it may seem rather harmless, dust is a menace to electronics, particularly those that work in a confined space. Regular maintenance is the key to preventing dust buildup. Keep your PC dust-free, and make sure that all the case filters are regularly cleaned as well. Use compressed air or specialized electronic cleaning tools to remove dust from your GPU and other components, allowing for unobstructed airflow and efficient cooling.
Improve GPU placement
Leave some space for the GPU to breathe

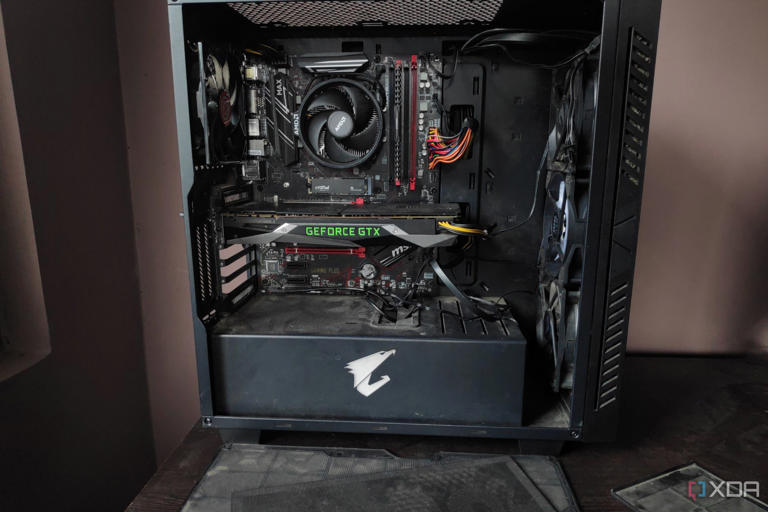
The location of your GPU within the case can significantly impact its temperature. Ideally, install your GPU in the top PCIe slot to ensure it has ample space for airflow and heat dissipation. Moreover, it is also important to consider what orientation you want to install the graphics card in. Although the rising trend of vertical GPU mounting is quite attractive from an aesthetics standpoint, it raises the temperature of the GPU due to reduced airflow. Try to install the GPU in a horizontal position, with plenty of space between the GPU fans and the bottom of the case. Avoid obstructing the GPU with other components, cables, or storage drives, as this can impede the airflow and lead to increased temperatures.
Improve cable management
Don't slack with cable management

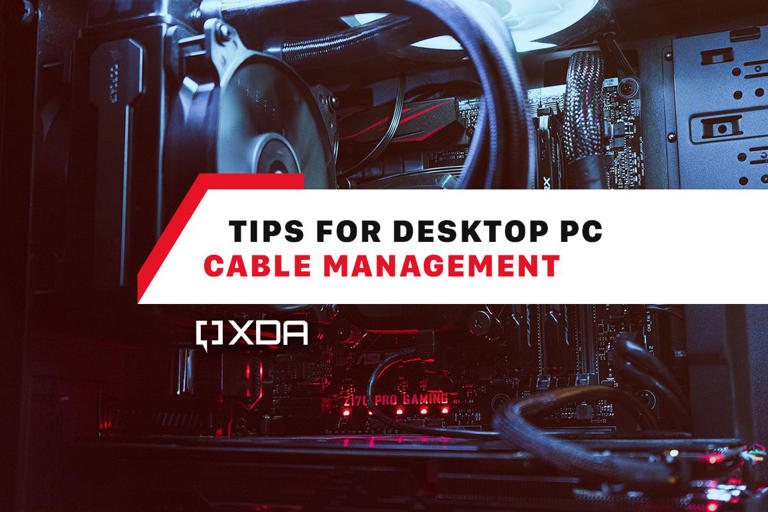
Disorganized and tangled cables can obstruct airflow pathways and disrupt heat dissipation. To neatly organize your cables, you can use cable ties, and if necessary, remove and re-install your CPU cooler with better fans and CPU pump cable routing. Re-route the cables in a manner that ensures a clean and tidy interior, creating an unobstructed channel for airflow. This will ultimately reduce GPU temperatures. Be especially vigilant in ensuring that no cables obstruct the airflow from the intake fans to the GPU fans.
GPU undervolting
For those who don't mind tinkering

Undervolting is our first “invasive” step that can significantly improve your GPU temperatures, although with a bit of effort. It involves decreasing the voltage supplied to the GPU while maintaining stability in terms of performance. Undervolting is similar to overclocking, but you are essentially going the opposite way with the voltage slider and trying to achieve stability.
Undervolting can be done using software like MSI Afterburner or with manufacturer-provided tools. Essentially, it involves reducing the voltage provided to the GPU core while maintaining the stock clocks of the graphics card. Each round of undervolting should be followed by thorough stability testing if you don’t want to run into a sudden crash. To get a good measure of the overall stability, it is important to run multiple cycles on various software like Unigine Heaven, Unigine Superposition, 3DMark Suite, Furmark, and your favorite games.
By undervolting your GPU using manufacturer-provided tools or third-party applications, you can significantly reduce heat generation and power consumption. However, it's essential to find the right balance between undervolting and maintaining optimal performance, as excessive undervolting can lead to instability and a reduction in potential boost clocks.
Changing thermal paste
Requires a lot of effort

The thermal paste that is applied between the GPU die and its heatsink degrades over time, reducing its heat transfer efficiency. Replacing the old thermal paste with a fresh, high-quality thermal paste can substantially lower temperatures and improve cooling performance. This maintenance task can be particularly beneficial if your GPU is exhibiting signs of overheating, and is often the go-to method for enthusiasts who want to reduce GPU temperatures.
For this step, you will need to open your graphics card to separate the PCB from the heatsink assembly. Most graphics card manufacturers void your warranty for opening up the graphics card, so be mindful of this caveat. Once the two components are separated, thoroughly clean the old thermal paste application from the GPU die as well as the heatsink. Once it has been cleaned, apply the new thermal paste onto the GPU die (preferably in an X pattern). Make sure to use high-quality thermal paste for this application.
It is also advised to change the thermal pads once you open up the graphics card. The thermal pads sit between the heatsink assembly and the VRM/VRAM components and are responsible for heat dissipation from those dies. To change the thermal pads, you will need to acquire new thermal pads of the same dimensions (especially the height) since any variation in height can lead to improper contact between the GPU die and the heatsink. Once all thermal components are replaced, you can go ahead and close the graphics card again.

Installing a water block
For those who seek maximum cooling performance

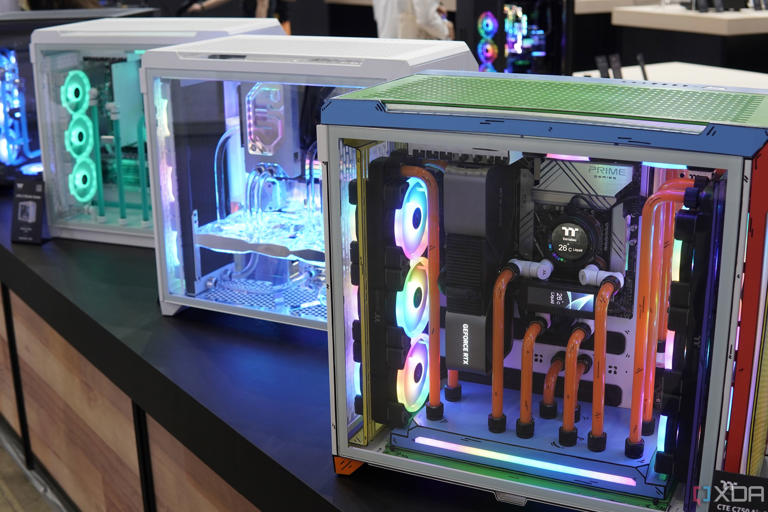
For users seeking advanced cooling solutions, installing a water block is an option that can yield extremely impressive results. Water cooling systems circulate a liquid coolant through a block attached to the GPU, providing highly efficient heat dissipation. However, this particular step requires a custom liquid cooling loop to be already present in your PC. Essentially, you can remove the heatsink assembly from the graphics card and attach a custom water block directly to the PCB in order to bring the GPU into your custom loop.
Water cooling setups are capable of maintaining significantly lower temperatures than air cooling solutions, although they require careful installation and maintenance and may come at a higher cost. This method is often preferred by overclockers and enthusiasts seeking maximum cooling performance. It also comes with a risk of damaging the internal components of the graphics card during installation, and even in the event of an unfortunate accident.
Reducing in-game settings
When nothing else works

One of the most straightforward ways to lower GPU temperatures is by adjusting in-game graphics settings. Lowering settings such as resolution, texture quality, anti-aliasing, and shadow details can significantly reduce the load on your GPU. This, in turn, leads to lower heat generation during gameplay without compromising overall performance. This is, however, a workaround rather than an actual solution, which is why I consider it a sort of last resort.
Final words
At the end of the day, effectively managing and lowering GPU temperatures is essential for both the longevity and optimal performance of your graphics card. By implementing a combination of the methods discussed, you can ensure your GPU operates within safe temperature ranges, resulting in a stable and reliable computing experience. Remember, a well-cooled GPU not only showcases better performance and extends its lifespan but also enhances your overall gaming enjoyment.


